
How to Make Perfect Chicken Parm Sliders: Easy Party Recipe Guide
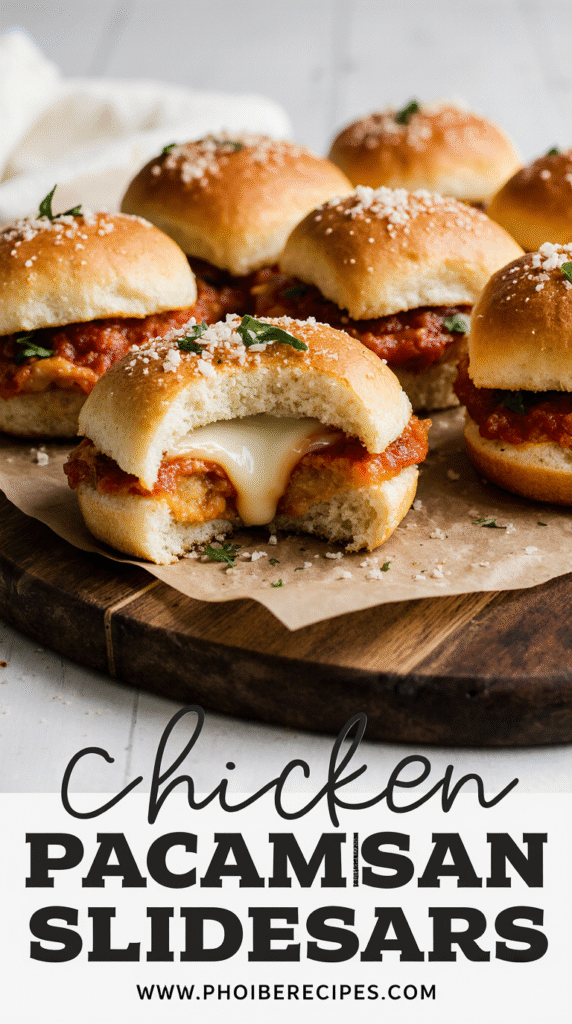
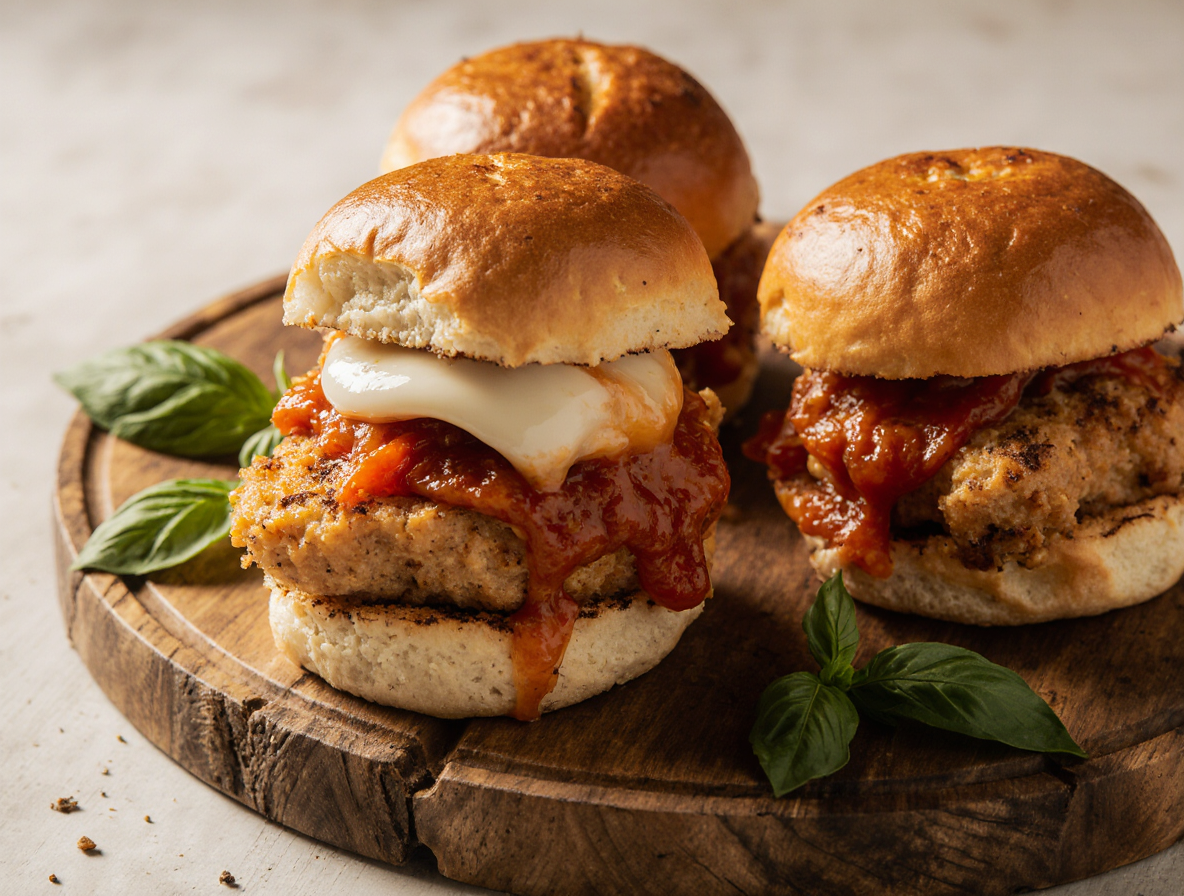
Chicken parm sliders are the ultimate crowd-pleasing party food that disappears almost as soon as they come out of the oven. Whether you’re hosting a Super Bowl gathering or need a casual meal option, these thickly layered mini sandwiches combine succulent chicken, tangy marinara, and gooey mozzarella for an irresistible bite-sized treat.
In fact, our chicken parmesan sliders recipe transforms the classic comfort food into something even more crave-worthy. Not only can you assemble these easy chicken parm sliders a day ahead and refrigerate until baking, but they also feature a savory butter, garlic, and Parmesan topping that creates an aroma impossible to resist. Additionally, with just 15 minutes of prep time, these sliders pack impressive flavor into each serving of 428 calories.
In this guide, we’ll walk you through everything you need to make perfect chicken parm sliders, from ingredient selection to step-by-step instructions, plus expert tips to ensure they turn out perfectly every time.
Ingredients You’ll Need for Chicken Parm Sliders
Gathering the right ingredients is the first step toward creating mouthwatering chicken parm sliders. The beauty of this recipe lies in its flexibility—you can customize based on what you have available while still maintaining that classic chicken parmesan flavor profile.
Breaded chicken tenders or rotisserie chicken
For the star of your chicken parm sliders, you have two excellent options. Pre-made breaded chicken tenders save significant prep time and provide that crispy texture everyone loves. Alternatively, shredded rotisserie chicken offers a juicier alternative that absorbs marinara sauce beautifully. For a homemade touch, you can bread and cook chicken cutlets yourself, slicing them thinly to fit perfectly on your slider buns. Whichever option you choose, plan for approximately 2-3 ounces of chicken per slider.
Slider rolls: Hawaiian or brioche
The foundation of perfect chicken parmesan sliders starts with the right rolls. Hawaiian sweet rolls add a subtle sweetness that balances the savory chicken and tangy marinara wonderfully. Furthermore, they typically come in connected sheets of 12-24 rolls, making assembly much faster. Brioche slider buns offer a richer, buttery alternative with a slightly sturdier structure. Both options work beautifully, though Hawaiian rolls have become particularly popular for their convenient preparation and complementary flavor profile.
Cheese options: mozzarella, provolone, Parmesan
No chicken parm slider is complete without generous cheese. Specifically, you’ll need:
- Mozzarella: For that classic stringy, melty texture (use whole milk mozzarella for best results)
- Provolone: Adds depth of flavor while still melting beautifully
- Parmesan: Provides that sharp, nutty finish that defines chicken parmesan
Using a combination of these cheeses creates the most authentic flavor, though mozzarella alone will still yield delicious results if you’re short on options.
Marinara sauce: thick and flavorful
Choose a thick, high-quality marinara sauce to prevent soggy buns. Store-bought premium marinara works perfectly, especially varieties with chunky texture and herb-forward profiles. Nevertheless, homemade sauce can elevate your sliders even further if you have the time. Generally, you’ll need about 1-1½ cups of sauce for a standard 12-count slider recipe.
Garlic butter topping ingredients
The finishing touch that makes these sliders irresistible is the garlic butter topping. You’ll need unsalted butter, minced garlic (fresh works best), Italian seasoning, and grated Parmesan cheese. This flavorful mixture gets brushed across the top of your assembled sliders before baking, creating a golden, aromatic crust that adds both visual appeal and mouthwatering flavor to your chicken parm sliders.
Step-by-Step Instructions to Make Chicken Parm Sliders
Creating perfect chicken parm sliders is all about technique and timing. Once you’ve gathered your ingredients, follow these straightforward steps to assemble and bake these crowd-pleasing mini sandwiches.
1. Cook the chicken and prep the rolls
First, preheat your oven to 350°F. If using frozen chicken tenders, cook them according to package directions until golden and crispy. Meanwhile, use a long serrated knife to slice your Hawaiian rolls or brioche buns horizontally as a single slab, keeping the rolls connected. Place the bottom half in a greased 9×13-inch baking dish with the cut side facing up.
2. Toast the bottom buns for crispiness
Toasting the bottom buns creates a barrier that prevents them from becoming soggy from the sauce and chicken. Brush the cut sides with melted garlic butter and sprinkle with Parmesan cheese. Then, place in the oven for about 5 minutes until the edges turn golden and the cheese becomes crisp. This step is crucial for maintaining structural integrity throughout the eating experience.
3. Layer cheese, sauce, and chicken
After toasting, start layering your sliders. Begin with a layer of cheese slices (provolone or mozzarella) directly on the warm bun bottoms. Next, spread half the marinara sauce evenly across the cheese. Afterward, arrange your chicken pieces in a single layer, overlapping slightly if needed. Top with remaining marinara sauce, followed by another layer of cheese and a sprinkle of fresh basil.
4. Add top buns and brush with garlic butter
Place the top half of your connected rolls over the cheese layer. In a small bowl, mix melted butter with minced garlic, chopped parsley, Parmesan cheese, and a dash of Italian seasoning. Generously brush this mixture over the tops of the buns, allowing some to drip down the sides and into the cracks for maximum flavor distribution.
5. Bake until golden and melty
Cover the baking dish with aluminum foil, using toothpicks to prop up the foil slightly so it doesn’t stick to the buttered tops. Bake for approximately 20 minutes until heated through, then remove the foil and bake for an additional 3-5 minutes until the tops are golden brown and the cheese is completely melted. Let the sliders rest for 5 minutes before cutting along the perforations to serve.
Tips to Make Your Sliders Perfect Every Time
Perfect chicken parm sliders require attention to detail beyond basic assembly. Mastering these expert tricks will elevate your sliders from good to unforgettable.
Use thick marinara to avoid soggy buns
Soggy buns are the nemesis of any slider. Essentially, thicker marinara sauce creates a barrier that prevents excess moisture from seeping into your rolls. Indeed, a thicker consistency helps the sauce stay put rather than running into the bread. Moreover, toasting the bottom buns before assembly creates an additional protective layer against sogginess. For optimal results, place a thin layer of cheese directly on the bun before adding sauce – this strategic placement acts as an extra moisture barrier.
Cover with foil if browning too fast
The perfect chicken parm slider has a golden top without burnt edges. Initially, covering your sliders with foil traps steam and promotes even melting while preventing premature browning. Typically, you’ll want to cover them for the first 20 minutes of baking, subsequently removing the foil for the final few minutes to achieve that beautiful golden finish.
Mix chicken with sauce for even flavor
Rather than layering sauce on top of chicken, consider mixing them together. This technique ensures each bite has balanced flavor throughout. Primarily, it helps distribute the tangy marinara evenly, certainly creating a more cohesive filling. For rotisserie or shredded chicken especially, this mixing technique allows the meat to absorb the sauce’s flavors fully.
Use shredded cheese for better melt
Pre-shredded cheese contains anti-caking agents that can prevent proper melting. Alternatively, shredding your own mozzarella and Parmesan yields a significantly better melt and texture. Ultimately, freshly shredded cheese creates that irresistible stretch and creaminess that defines great chicken parm sliders.
Let sliders rest before slicing
Always allow your sliders to rest for 5 minutes after baking. This cooling period helps the cheese set slightly, making clean cutting possible without filling oozing everywhere. Furthermore, this brief rest ensures the sliders hold their shape when served.
How to Store, Reheat, and Serve for Parties
One advantage of chicken parm sliders is their versatility beyond just immediate serving. These delicious mini sandwiches can be easily managed for parties with proper storage and reheating techniques.
Storage: Airtight container in fridge for 3 days
Once your chicken parm sliders have completely cooled, place them in an airtight container to maintain freshness. Stored properly in the refrigerator, they’ll remain tasty for up to 3 days. For best results, I recommend storing the sliders separately from any additional sauce to prevent the buns from becoming soggy during storage. Alternatively, you can individually wrap each slider in plastic wrap for easy grabbing later.
Reheating: Oven, air fryer, or microwave
The oven provides the best reheating method for preserving that perfect texture. Preheat to 350°F, cover sliders with foil, and warm for 10-15 minutes. Remove the foil during the final 3-5 minutes to re-crisp the tops. For quicker results, an air fryer works wonderfully—heat at 325°F for 5-6 minutes for crispier buns. Although the microwave is fastest, it may result in slightly soggy buns. If using this method, wrap sliders in a damp paper towel and heat in 30-second intervals.
Freezing tips for leftovers
Chicken parm sliders freeze surprisingly well for up to 2 months. Firstly, ensure they’re completely cooled before freezing. Afterward, wrap each slider individually in foil, then place in a freezer-safe bag. Thaw overnight in the refrigerator before reheating using any method above. Obviously, the bread texture might not be quite as perfect as fresh, hence why making them fresh whenever possible is ideal.
Serving ideas: with salad, chips, or pasta
For a complete party spread, pair your chicken parm sliders with complementary sides. Classic options include:
- Garden salad with vinaigrette
- Pasta salad or simple penne pomodoro
- Potato chips or baked french fries
- Mozzarella sticks with extra marinara for dipping
Make-ahead tips for party prep
Undoubtedly, the best party strategy is preparing components ahead without final assembly. Cook chicken, toast buns, and store separately in airtight containers up to one day ahead. Shortly before guests arrive, assemble and bake for 5-7 minutes at 400°F until cheese is bubbly. Consequently, you’ll have freshly made sliders without last-minute stress. Alternatively, fully assemble sliders a day ahead, refrigerate, and add extra baking time when ready to serve.
Conclusion
Chicken parm sliders undoubtedly deserve their reputation as the ultimate crowd-pleasing party food. Throughout this guide, we’ve covered everything needed to create these irresistible mini sandwiches from ingredient selection to expert assembly techniques.
These sliders offer remarkable versatility for any gathering. With just 15 minutes of prep time and simple ingredients, you’ll create something truly special that guests will rave about. Additionally, the make-ahead options we discussed make these perfect for stress-free entertaining.
What makes these sliders truly exceptional, however, is their perfect balance of flavors and textures. The combination of crispy chicken, tangy marinara, and melty cheese nestled between toasted, buttery buns creates an unforgettable bite every time. During your next gathering, watch how quickly these disappear from the serving platter!
Remember those key tips we shared—using thick marinara, mixing chicken with sauce for even flavor, and allowing proper rest time before slicing. These small details certainly make the difference between good sliders and great ones.
Finally, chicken parm sliders adapt beautifully to your needs. You can prepare them fresh, make components ahead, or even freeze leftovers for later enjoyment. Therefore, we encourage you to try this recipe soon—your friends and family will thank you for these delicious, satisfying bites that capture all the comfort of classic chicken parmesan in slider form.
FAQs
Q1. How long do chicken parm sliders take to prepare and cook? These sliders require about 15 minutes of prep time and 25-30 minutes of baking. The total time from start to finish is approximately 45 minutes.
Q2. Can I make chicken parm sliders ahead of time for a party? Yes, you can prepare the components a day in advance and assemble just before baking, or fully assemble the sliders, refrigerate, and add extra baking time when ready to serve.
Q3. What’s the best way to prevent soggy buns in chicken parm sliders? Use a thick marinara sauce and toast the bottom buns before assembly. Additionally, placing a thin layer of cheese directly on the bun before adding sauce acts as a moisture barrier.
Q4. How should I store and reheat leftover chicken parm sliders? Store cooled sliders in an airtight container in the fridge for up to 3 days. Reheat in a 350°F oven for 10-15 minutes, covered with foil, removing the foil for the last few minutes to crisp the tops.
Q5. What are some good side dishes to serve with chicken parm sliders? Complement your sliders with sides like garden salad, pasta salad, potato chips, baked french fries, or mozzarella sticks with extra marinara sauce for dipping.