
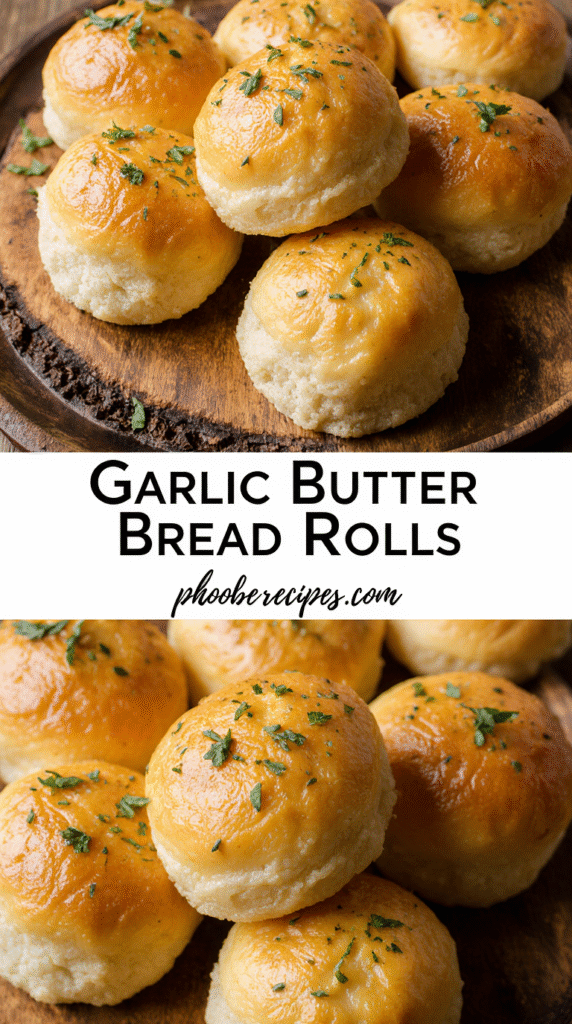
How to Make Homemade Garlic Rolls: A Foolproof Baker’s Guide
Are homemade garlic rolls intimidating you? Many of my readers tell me they feel overwhelmed at the thought of making bread from scratch. However, I’m here to assure you that creating these pillowy soft, herb-packed dinner rolls is actually simpler than you might think.
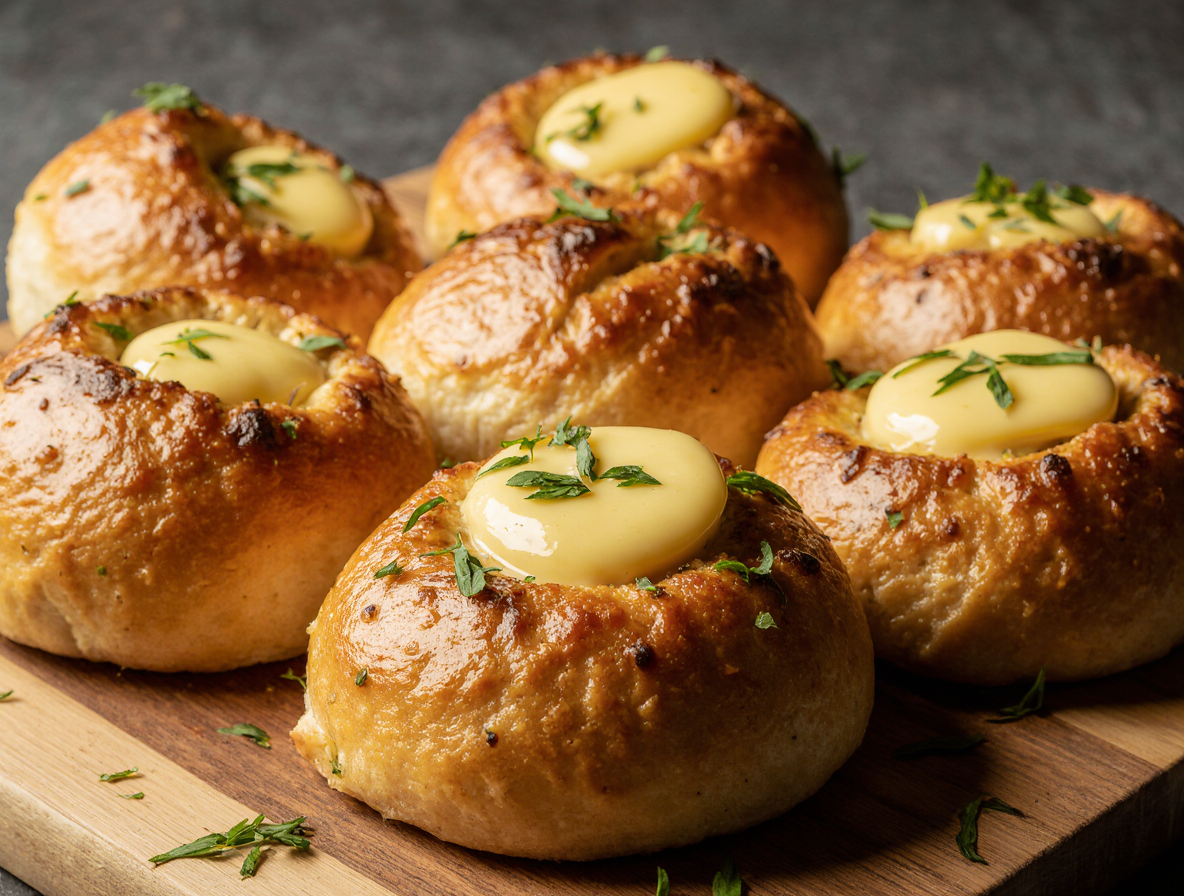
These garlic butter rolls are a staple holiday side at my house, and for good reason. If you’re someone who doesn’t feel like your meal is complete without a healthy serving of carbs, this garlic rolls recipe is definitely for you. Despite appearing complex, they’re surprisingly fuss-free to make and don’t even require a mixer. Importantly, the key to perfect garlic rolls from scratch comes down to understanding just a few fundamentals about yeast and kneading techniques.
In this easy homemade garlic rolls guide, I’ll walk you through each step of the process, from activating the yeast properly to achieving that coveted light, fluffy texture. Additionally, these rolls freeze beautifully for up to 2-3 months, making them perfect for busy weeknight dinners or unexpected guests.
Essential Ingredients and Tools
The foundation of perfect homemade garlic rolls starts with selecting the right ingredients. Let me walk you through what you’ll need for truly exceptional garlic butter rolls that impress every time.
Choosing the right flour and yeast
For the best texture in your garlic rolls, bread flour makes a significant difference. It contains higher protein content which helps create taller, fluffier, and slightly chewy rolls. While all-purpose flour works in a pinch, bread flour gives your dough better structure and rise. When measuring flour, use a digital kitchen scale for accuracy, otherwise use the spoon and level method to avoid compacting too much flour into measuring cups.
When it comes to yeast, you have two main options. Instant yeast (also called rapid-rise or quick-rise) is essentially a foolproof shortcut ingredient that allows you to skip the proofing step. For active dry yeast, you’ll need to activate it first by combining it with warm liquid (around 110°F) and a pinch of sugar, letting it sit until foamy (about 5-10 minutes).
Why milk, eggs, and butter matter
What separates basic bread from luxurious garlic rolls? The enrichment ingredients. Milk, eggs, and butter are what add richness to your dough. These ingredients slow down gluten development, creating a softer, more tender texture.
Milk helps with softness and contributes to that beautiful golden-brown color when baked. The fat in whole or 2% milk provides the best flavor and structure. Eggs add strength, structure, and richness to the dough. Meanwhile, butter gives your rolls that irresistible soft texture and fragrant aroma.
Optional add-ins: cheese, herbs, and more
To elevate your homemade garlic rolls further, consider these flavorful additions:
- Cheese options: Freshly grated parmesan adds a savory depth, while shredded mozzarella or monterey jack creates those delightful cheese pulls. For best results, use freshly grated cheese rather than pre-grated varieties which contain additives that prevent proper melting.
- Fresh herbs: Parsley is classic, but rosemary, thyme, oregano, or chives also complement the garlic flavor beautifully. Fresh herbs provide more vibrant flavor, although dried herbs work in smaller amounts.
Don’t forget the star ingredient – fresh garlic cloves provide the most authentic flavor. For even more complexity, consider Italian seasoning, a touch of honey instead of sugar, or even red pepper flakes for a slight kick.
Step-by-Step Garlic Rolls Recipe
Now that we’ve gathered our ingredients, let’s dive into the actual bread-making process. These steps will guide you from raw ingredients to perfectly baked homemade garlic rolls.
1. Activate the yeast properly
The foundation of successful garlic rolls begins with properly activated yeast. Pour warm milk (110°F-115°F) into a bowl—it should feel warm but not hot to the touch. Add a teaspoon of sugar, then sprinkle your yeast over the top. Let this mixture sit undisturbed for 5-10 minutes until it becomes foamy and bubbly. This foaming indicates your yeast is alive and ready to work. If you don’t see any action after 15 minutes, your yeast might be dead or your liquid too hot—start over with fresh yeast.
2. Mix and knead the dough
Next, combine your activated yeast mixture with the remaining ingredients. Start by incorporating just one-third of your flour, mixing until absorbed, then gradually add the rest. Knead the dough either by hand for 10-15 minutes or with a stand mixer fitted with a dough hook for 5-7 minutes. The dough is properly kneaded when it passes the “windowpane test”—you can stretch a small piece until it’s thin enough to see light through without tearing.
3. First rise: letting the dough double
Transfer your kneaded dough to a lightly oiled bowl, turning once to coat all surfaces. Cover with plastic wrap or a damp kitchen towel and place in a warm, draft-free area. The dough needs approximately 90 minutes to double in size. To test readiness, gently press two fingers into the dough—if the indentation remains, it’s ready for shaping.
4. Shape the rolls evenly
Punch down the risen dough to release air bubbles and turn it onto a clean surface. Divide into 12-15 equal pieces (using a scale ensures uniformity). Shape each piece into a smooth ball by pulling the edges toward the bottom and pinching them together. Place the seam side down and use your palm to roll in a circular motion, creating surface tension for a perfectly smooth top.
5. Second rise before baking
Arrange your shaped rolls in a greased baking pan with about an inch between each. Cover them again and allow a second rise of 30-45 minutes until they’re puffy and nearly doubled. During the final 20 minutes of this rise, preheat your oven to 350°F.
6. Bake and brush with garlic butter
Optionally, brush the risen rolls with egg wash for a shiny golden crust. Bake for 18-22 minutes until beautifully golden brown. Simultaneously, prepare your garlic butter by melting butter and sautéing minced garlic for 1-2 minutes, then adding chopped parsley. Generously brush this aromatic butter over the hot rolls immediately after baking, allowing it to soak into every crevice for maximum flavor.
Common Mistakes and How to Avoid Them
Even experienced bakers encounter problems when making homemade garlic rolls. Knowing these common pitfalls will help you achieve perfect results every time.
Overproofing or underproofing the dough
Timing is everything with yeast dough. Underproofed dough springs back quickly when poked and yields dense rolls. Conversely, overproofed dough leaves a permanent indentation and often collapses during baking. The perfect proof happens when your finger leaves a small indent that slowly fills halfway back. For the first rise, the dough should double in size, taking approximately 90 minutes at room temperature. The second rise typically requires just 15-30 minutes.
Using too much flour
Adding excessive flour while shaping your garlic rolls from scratch creates tough, dry results. When your dough feels sticky, resist the urge to keep adding flour. Instead, lightly oil your hands and work surface – this prevents sticking without compromising texture. For measuring flour accurately, use a digital scale or the spoon-and-level method to prevent compacting.
Why your rolls might turn out dense
Dense homemade garlic rolls typically result from several factors:
- Expired or improperly activated yeast
- Insufficient kneading (gluten not developed enough)
- Using too much salt (inhibits yeast activity)
- Not allowing enough rising time
- Working in too much flour during shaping
Furthermore, water temperature matters significantly – too hot kills yeast, whereas lukewarm (around 110°F) creates the ideal environment for activation.
Storage, Reheating, and Make-Ahead Tips
Freshly baked homemade garlic rolls are irresistible, but knowing how to properly store and reheat them extends their life beyond that first delicious day.
How to store garlic rolls for freshness
For maximum freshness, I store my homemade garlic rolls at room temperature in an airtight container or wrapped tightly in foil for 2-3 days. Specifically, avoid storing garlic rolls in the refrigerator as this can cause them to become moist and soggy. Consequently, if your rolls contain cheese, room temperature storage isn’t advisable – either consume them quickly or freeze them promptly.
Freezing instructions for later use
Freezing is my favorite way to preserve homemade garlic rolls for longer enjoyment. After cooling completely, wrap individual rolls or the entire batch in aluminum foil, then place in a freezer bag or container. These rolls will maintain quality for up to 3 months in the freezer.
Moreover, I’ve found that parbaking is an excellent make-ahead technique. Bake the rolls at a lower temperature (275°F) until cooked through but not browned, cool completely, then freeze. When ready to serve, simply finish baking at 400°F until golden brown.
For overnight preparation, shape the dough and place in your baking pan, cover tightly with plastic wrap, then refrigerate. The next morning, allow them to come to room temperature for about 2 hours before baking.
Reheating for best texture and flavor
To revive the fresh-baked magic, these methods work best:
For refrigerated or room temperature rolls, wrap in foil and heat in a 350°F oven until warmed through. Alternatively, microwave for 20-30 seconds for quick enjoyment.
When reheating from frozen, keep the rolls wrapped in foil and bake at 375°F for 15-20 minutes. For extra freshness, brush with additional melted garlic butter or olive oil before reheating.
Conclusion
Making homemade garlic rolls certainly doesn’t need to be intimidating after all. Throughout this guide, we’ve broken down what once seemed complex into manageable steps anyone can follow. Most importantly, understanding the basics of yeast activation, proper kneading techniques, and the right ingredients makes all the difference between dense, disappointing rolls and light, fluffy perfection.
The secret truly lies in those enrichment ingredients – milk, eggs, and butter – which transform basic bread into something special. Additionally, taking care with proofing times rewards you with that ideal texture we all crave from freshly baked bread.
Common mistakes like overproofing or using too much flour can be easily avoided with the techniques we’ve covered. Therefore, your next batch of garlic rolls will likely turn out better than anything you could buy at the store.
These rolls serve as perfect companions for holiday meals, casual dinners, or anytime you crave something warm and comforting. The versatility of freezing or making them ahead adds convenience to your baking schedule. You can prepare them weeks in advance for unexpected guests or busy weeknights.
Give these homemade garlic rolls a try the next time you want to impress your family or friends. The process might surprise you with its simplicity, while the results will certainly delight everyone at your table. Nothing compares to the satisfaction of pulling a tray of golden, aromatic garlic rolls from your oven – especially when you’ve made them yourself from scratch!
FAQs
Q1. What are the key ingredients for making homemade garlic rolls? The essential ingredients for homemade garlic rolls include bread flour, yeast, milk, eggs, butter, and fresh garlic. Optional add-ins like cheese and herbs can enhance the flavor.
Q2. How long should I let the dough rise when making garlic rolls? For the first rise, allow the dough to double in size, which typically takes about 90 minutes at room temperature. The second rise usually requires 30-45 minutes until the rolls are puffy and nearly doubled.
Q3. Can I prepare garlic rolls in advance? Yes, you can prepare garlic rolls in advance. Shape the dough and place it in a baking pan, cover tightly with plastic wrap, and refrigerate overnight. The next day, let them come to room temperature for about 2 hours before baking.
Q4. What’s the best way to store and reheat garlic rolls? Store garlic rolls at room temperature in an airtight container for 2-3 days. To reheat, wrap them in foil and warm in a 350°F oven until heated through. For longer storage, freeze for up to 3 months and reheat from frozen at 375°F for 15-20 minutes.
Q5. How can I ensure my garlic rolls turn out light and fluffy? To achieve light and fluffy garlic rolls, properly activate the yeast, knead the dough sufficiently, avoid using too much flour, and allow adequate rising time. Also, use enrichment ingredients like milk, eggs, and butter to enhance the texture and flavor.