
How to Make Perfect Cheesecake Deviled Strawberries (Foolproof Guide 2025)
Cheesecake deviled strawberries have taken social media by storm, particularly TikTok, and it’s easy to see why. These delightful treats come together in under 20 minutes, making them one of the quickest impressive desserts you can whip up for any occasion.
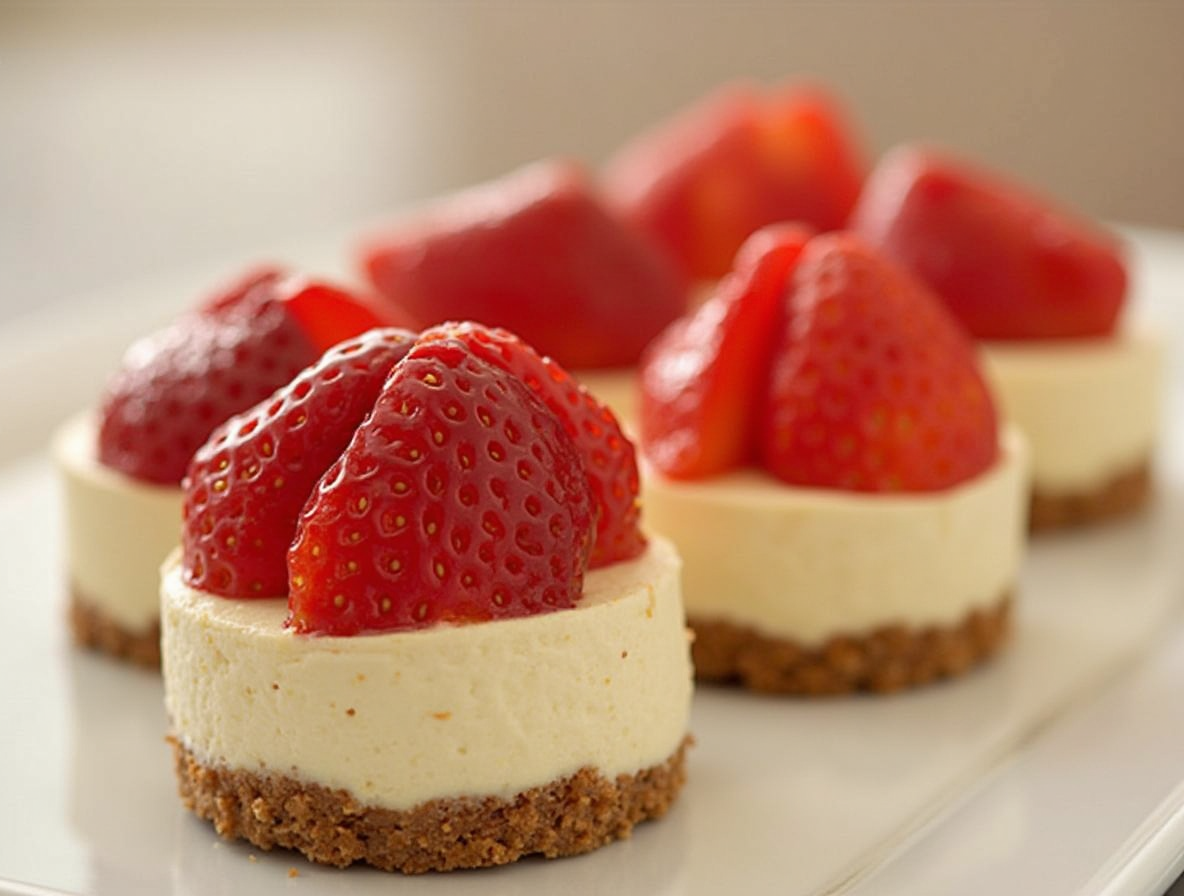
We love this deviled strawberries recipe because it requires just four simple ingredients for the filling: cream cheese, powdered sugar, vanilla extract, and heavy whipping cream. The deviled cheesecake strawberries are then topped with graham cracker crumbs to mimic the flavor of traditional cheesecake crust. If you’re watching your calories, you’ll be happy to know each serving contains about 105 calories. In this foolproof guide, I’ll walk you through how to make cheesecake deviled strawberries that will impress your guests every time. From selecting the perfect strawberries during peak season (April through June) to mastering the easy cheesecake deviled strawberries recipe, you’ll become an expert in no time.
Choosing the Right Strawberries
The foundation of perfect cheesecake deviled strawberries starts with selecting the right berries. As with any recipe where strawberries are the star, the quality of your fruit will make or break the final result.
Why size and shape matter
When making cheesecake deviled strawberries, size truly matters. You’ll want to select large strawberries that can accommodate a generous amount of creamy filling. Medium to large strawberries provide the ideal canvas for your creation, allowing enough space to pipe in the cheesecake mixture while maintaining structural integrity.
Smaller berries simply won’t work for this recipe. Since we’ll be carving out a small bowl in each strawberry half, larger berries offer more surface area and are significantly easier to work with. Think of each berry half as a tiny edible vessel – the roomier it is, the more delicious filling it can hold.
Beyond size, look for strawberries with these characteristics:
- Bright, uniform red color throughout the berry
- Firm to the touch – neither too soft nor too hard
- Sweet, floral aroma – this is the most important indicator of ripeness and flavor
Interestingly, one clever trick for selecting sweet strawberries is checking how red they are underneath their leafy cap. Deep ruby red coloring that extends all the way to the top generally indicates an ultra-juicy, sweet strawberry. Conversely, avoid strawberries with white or green mottled spots, which signal they haven’t fully ripened yet.
How to prep strawberries for filling
Once you’ve selected perfect strawberries, proper preparation is essential. First, gently wash and thoroughly dry your berries – moisture is the enemy of crispness. After drying, slice each strawberry in half lengthwise.
Most recipes recommend leaving the stem intact, as it provides both visual appeal and helps with handling. However, the most crucial prep step involves creating a stable base for your deviled strawberries to prevent them from rolling around on the serving plate.
To achieve this, use a paring knife to trim a small sliver from the rounded exterior of each strawberry half. This creates a flat surface that allows the strawberries to sit upright rather than tipping over and spilling their precious filling.
Afterward, drain the prepared halves cut-side down on paper towels for a couple of minutes to remove excess moisture. Finally, use a small melon baller or measuring spoon to gently scoop out a small portion from the center of each strawberry half, creating a little “bowl” for your cheesecake filling.
For optimal results when making cheesecake deviled strawberries, remember that this prep work directly impacts both the presentation and eating experience. Properly hollowed berries with flat bottoms will hold more filling and display beautifully on your serving platter.
Making the Cheesecake Filling
The secret to irresistible cheesecake deviled strawberries lies in the creamy, perfectly balanced filling. With just a few simple ingredients and proper technique, you’ll create a dessert that tastes just like classic cheesecake but in adorable bite-sized form.
Ingredients you’ll need
For the perfect cheesecake filling, gather these essentials: 8 ounces of brick-style cream cheese (softened), 1/2 to 1 cup of powdered sugar (according to your sweetness preference), 1 teaspoon of vanilla extract, and 1 to 1.5 cups of cold heavy whipping cream. Notably, brick-style cream cheese is crucial—tub-style or low-fat varieties will produce a runny filling that won’t hold its shape. Furthermore, using full-fat cream cheese yields a richer, creamier result, essential for that authentic cheesecake flavor.
Whipping the cream to stiff peaks
Initially, you’ll need to whip the cold heavy cream until stiff peaks form—a critical step that creates the light, mousse-like texture. Place a metal bowl in the freezer for 10-15 minutes beforehand to aid this process. Subsequently, using an electric mixer with a whisk attachment, beat the cream on medium-high speed for approximately 4-5 minutes. You’ll know you’ve reached stiff peaks when the cream stands straight up and holds its shape when you lift the beater. This whipped cream essentially acts as the stabilizer for your filling, giving it structure and that signature airy texture.
Combining cream cheese and sugar
In a separate bowl, beat the softened cream cheese until perfectly smooth—about 1-2 minutes on high speed. Afterward, add the powdered sugar and vanilla extract, continuing to beat until the mixture becomes fluffy and creamy with no lumps. Powdered sugar works particularly well in this recipe as the cornstarch it contains helps stabilize the filling. Beat this mixture until completely smooth, scraping down the sides of the bowl as needed to ensure everything incorporates evenly.
Folding in whipped cream for texture
The final—and perhaps most crucial—step involves combining your two mixtures. To preserve the air whipped into the cream, you must fold rather than stir. Begin by gently incorporating a small portion of the whipped cream into the cream cheese mixture to lighten it. Then, carefully fold in the remaining whipped cream until no streaks remain. This gentle folding technique undeniably makes the difference between a dense, heavy filling and a light, airy one that mimics the texture of perfect cheesecake.
Assembling the Deviled Strawberries
Now comes the fun part of making cheesecake deviled strawberries—putting everything together! This assembly process transforms simple ingredients into an eye-catching dessert that’s as delightful to look at as it is to eat.
How to hollow out the strawberries
There are several effective methods to create the perfect cavity for your cheesecake filling. A small melon baller works wonderfully for scooping out the center of each strawberry without damaging the outer shell. Alternatively, a strawberry huller specifically designed for this purpose makes quick work of removing the stem and creating space for filling.
For those without specialized tools, a small paring knife works just as effectively. Simply cut around the green stem to loosen it, then carefully scoop out the interior. A serrated grapefruit spoon can also serve as an excellent multifunctional tool for this step.
To ensure your deviled strawberries stand upright on serving platters, trim a small sliver from the rounded exterior of each berry half. This creates a flat surface that prevents tipping and spilling of the precious filling.
Using a piping bag for clean filling
Although you could spoon filling into each strawberry, a piping bag delivers far superior results with minimal effort. First, transfer your prepared cheesecake mixture into a piping bag fitted with a fluted star tip for the prettiest presentation.
Don’t have a proper piping bag? No problem! A resealable plastic bag with the corner snipped off works perfectly. The key to professional-looking cheesecake deviled strawberries lies in your technique—pipe generously, filling the hollow completely before creating a decorative mound on top.
As you pipe, try rotating the strawberry slightly to create an attractive spiral pattern. Take your time with this step—patient piping makes all the difference in presentation.
Topping with graham cracker crumbs
For the finishing touch that truly makes these taste like miniature cheesecakes, sprinkle graham cracker crumbs atop each filled strawberry. This not only mimics the flavor of traditional cheesecake crust but also adds a pleasing textural contrast to the smooth filling and juicy fruit.
You can either sprinkle the crumbs lightly over the tops or gently dip the filled side of each strawberry into the crumbs for more coverage. Either method transforms these treats into perfect bite-sized desserts that deliver all the flavor components of classic cheesecake.
Tips for Perfect Results Every Time
After mastering the assembly of your cheesecake deviled strawberries, a few expert techniques will ensure they maintain their beauty and flavor until serving time. These finishing touches make all the difference between good and spectacular results.
Avoiding soggy strawberries
To keep your cheesecake deviled strawberries fresh and firm, proper moisture management is essential. After hollowing out the strawberries, place them cut-side down on paper towels to drain excess juice. This simple step prevents the filling from becoming watery later. Additionally, creating a flat base by trimming a tiny slice off the bottom helps them stand upright while allowing any moisture to escape rather than pool underneath.
For parties, I recommend preparing the strawberry bases a few hours ahead, then storing them upside down on paper towel-lined baking sheets in the refrigerator. This technique allows any remaining moisture to drain away, ensuring they remain firm and fresh when filled.
Make-ahead and storage advice
While these treats are best enjoyed fresh, you can prepare components ahead of time. The cheesecake filling can be made up to 2-3 days in advance and stored in a sealed container in the refrigerator. Just give it a quick stir before piping to restore its creamy texture.
Completely assembled cheesecake deviled strawberries should be consumed within 24 hours for optimal quality. Moreover, hold off on adding the graham cracker crumbs until just before serving to prevent them from becoming soggy.
For storage, place filled strawberries in a single layer in an airtight container. Stacking them will crush the beautiful piped filling and potentially cause them to weep moisture. Before serving, allow them to sit at room temperature for about 15 minutes to enhance their flavor.
Presentation tips for parties
For an impressive party display, consider these presentation ideas:
- Arrange your cheesecake deviled strawberries on a deviled egg platter for a fun visual twist
- Garnish with fresh mint leaves or lemon zest for a pop of color
- For special occasions like July 4th, top each strawberry with a blueberry for a patriotic touch
For dessert tables, these treats pair beautifully with chocolate-covered strawberries or mini tarts, creating an elegant spread that guests will remember.
Conclusion
Cheesecake deviled strawberries truly represent the perfect balance of simplicity and elegance. Throughout this guide, we’ve seen how these delightful treats come together with minimal effort yet deliver maximum impact at any gathering.
First and foremost, selecting the right strawberries makes all the difference. Large, firm berries with vibrant red coloring provide the ideal foundation for your creamy filling. After that, proper preparation ensures your strawberries will stand proudly on any serving platter without tipping over.
The cheesecake filling, undoubtedly the star of the show, requires just four basic ingredients most people already have in their kitchens. Certainly, the technique of folding whipped cream into the cream cheese mixture creates that signature light, airy texture reminiscent of perfect cheesecake.
Meanwhile, the assembly process allows for creative expression through decorative piping, while graham cracker crumbs add that authentic cheesecake flavor profile we all love. Additionally, our storage and presentation tips ensure your creation stays fresh and beautiful until serving time.
Last but not least, these deviled strawberries offer a lower-calorie alternative to traditional cheesecake at only about 105 calories per serving. Therefore, you can indulge without guilt while still enjoying a satisfying dessert experience.
Whether you’re hosting a formal dinner party or simply craving something sweet, these cheesecake deviled strawberries deliver impressive results with minimal effort. Most compelling evidence of their appeal is their viral popularity across social media platforms like TikTok. Why not try this recipe this weekend? Your family and friends will think you spent hours in the kitchen, though we know it only takes about 20 minutes from start to finish!
FAQs
Q1. What are the main ingredients needed for cheesecake deviled strawberries? The main ingredients for cheesecake deviled strawberries are large strawberries, cream cheese, powdered sugar, vanilla extract, and heavy whipping cream. Graham cracker crumbs are used for topping.
Q2. How do you choose the best strawberries for this recipe? Select large, firm strawberries with a bright, uniform red color and sweet aroma. The size matters as larger berries provide more space for filling and are easier to work with.
Q3. Can you make the cheesecake filling ahead of time? Yes, you can prepare the cheesecake filling up to 2-3 days in advance. Store it in a sealed container in the refrigerator and give it a quick stir before using to restore its creamy texture.
Q4. How long do cheesecake deviled strawberries stay fresh? Fully assembled cheesecake deviled strawberries are best consumed within 24 hours for optimal quality. It’s recommended to add the graham cracker crumbs just before serving to prevent sogginess.
Q5. What’s the best way to pipe the filling into the strawberries? Use a piping bag fitted with a fluted star tip for the prettiest presentation. If you don’t have a piping bag, a resealable plastic bag with the corner snipped off works well too. Pipe generously, filling the hollow completely before creating a decorative mound on top.