
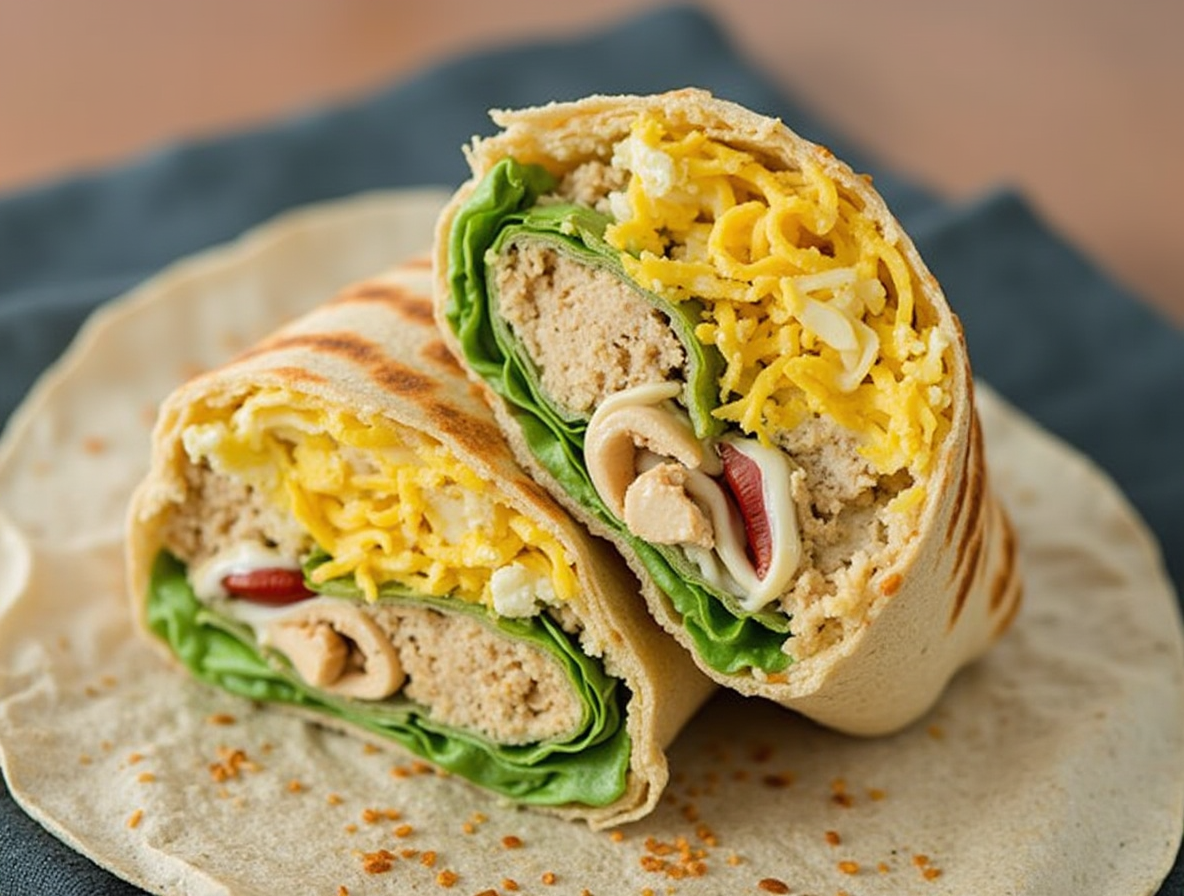
How to Make the Perfect Tuna Melt Wrap in 10 Minutes [Easy Guide]
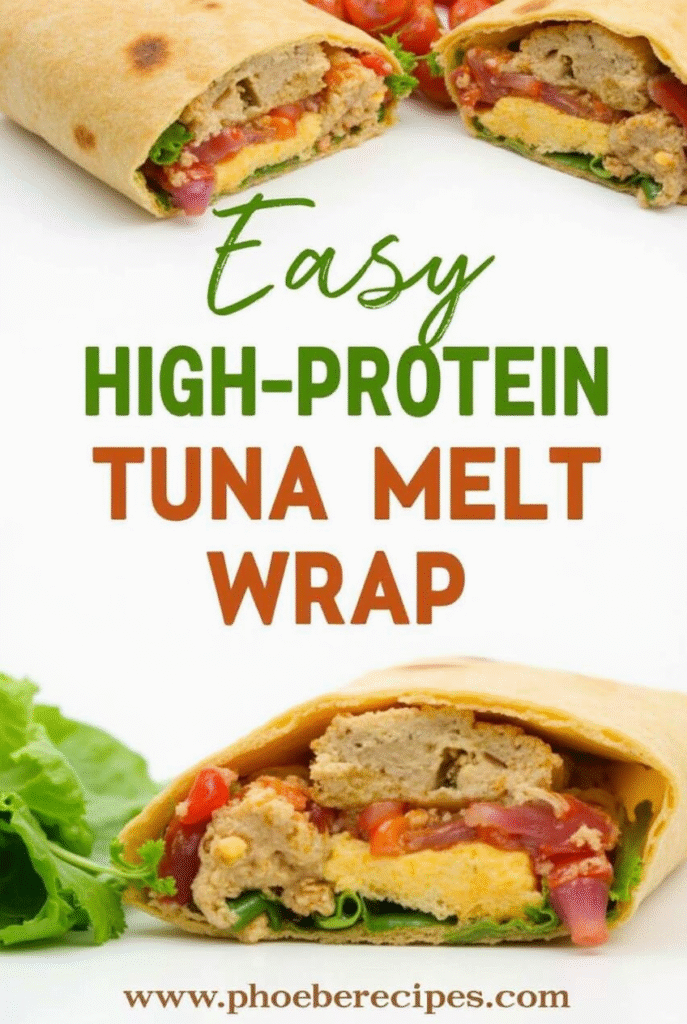
Tuna melt wraps are my go-to solution when I need a protein-packed meal in minutes. A single 5 oz can of tuna provides significant protein while also delivering essential EPA and DHA Omega-3 fatty acids that help lower cholesterol and support brain health.
What makes this tuna melt wrap recipe so appealing is certainly its versatility and speed. In just 15-20 minutes (or less!), we can create a healthy tuna melt wrap using Greek yogurt instead of mayo to reduce saturated fat while adding gut-healthy probiotics. Additionally, one tin of tuna can feed two people, making this easy tuna melt wrap incredibly budget-friendly. For those concerned about nutrition, you can feel good knowing how to make a tuna melt wrap that balances convenience with health benefits. Just remember, due to mercury concerns, it’s best to limit light tuna consumption to one 3.5 ounce serving per week.
Key Ingredients for a Tuna Melt Wrap
The quality of ingredients makes all the difference when crafting the perfect tuna melt wrap. Let’s explore the essential components that will elevate your wrap from basic to extraordinary.
Choosing the right tuna
For the base of your tuna melt wrap, the type of tuna truly matters. Skipjack or Yellowfin varieties offer a softer texture compared to Albacore (white tuna) and contain lower mercury levels. Furthermore, water-packed tuna is generally preferred for healthier options, though oil-packed provides richer flavor. Look specifically for sustainably caught canned tuna to make an environmentally conscious choice. I’ve found brands like Safe Catch and Wild Planet consistently deliver excellent quality. Notably, proper draining is essential—removing excess liquid helps the binding ingredients adhere better and prevents soggy wraps.
Best cheese for melting
The cheese selection can make or break your tuna melt wrap experience. For that perfect gooey texture, stick to these excellent melting options:
- Sharp cheddar: A classic choice with robust flavor
- American cheese: Melts quickly with a creamy, uniform texture
- Mozzarella: Lower in saturated fats and sodium
- Provolone or Swiss: Offer mild flavors that complement tuna well
Above all, low-moisture varieties melt more consistently. For the ultimate comfort food experience, high-quality American cheese creates an evenly melted, creamy layer without breaking as it heats.
Wraps and tortillas: what works best
In contrast to traditional bread, burrito-sized tortillas (at least 10 inches in diameter) are ideal for tuna melt wraps. This size provides ample space to fold properly without splitting. Plain flour tortillas work perfectly, although whole wheat offers more fiber. For those avoiding gluten, Siete brand makes excellent gluten-free burrito wraps found in the frozen section. An 8-inch tortilla contains approximately half the calories of two bread slices, making wraps a lighter alternative to standard tuna melts.
Healthy swaps: Greek yogurt vs mayo
Greek yogurt stands out as an excellent mayo substitute in tuna melts. It provides similar creaminess with a tangy flavor profile while being significantly lower in sodium, calories, fat, and cholesterol. As a bonus, it adds probiotics for gut health and extra protein. To better mimic mayonnaise’s richness, consider adding a tablespoon of extra virgin olive oil per quarter-cup of 2% Greek yogurt. Alternatively, for a more authentic mayo-like flavor, try celebrity chef Rocco DiSpirito’s method using a white vinegar and cornstarch slurry mixed with Greek yogurt.
Flavor boosters: mustard, lemon, relish
The secret to an outstanding tuna melt wrap lies in the flavor boosters. Fresh lemon juice brightens the filling significantly—always choose freshly squeezed over bottled for brighter flavor. Dijon mustard adds a subtle spicy tang, though yellow or honey mustard works nicely too. For briny elements, incorporate dill relish, chopped pickles, or capers. To add dimension, consider additional mix-ins like kimchi for heat, giardiniera for crunch, or even a sprinkle of spice blends such as Old Bay or garam masala for unexpected depth.
Step-by-Step: How to Make a Tuna Melt Wrap
Let’s dive into the step-by-step process of crafting your tuna melt wrap from preparation to the final crispy finish.
1. Mix the tuna filling
First, drain your canned tuna thoroughly. You can prepare the filling two ways: use a food processor for a smoother texture or mix by hand for chunkier results. If using a food processor, combine tuna, garlic, capers, salt and pepper. Otherwise, break the tuna into small pieces with a fork in a bowl. Next, add your binding ingredients—either mayonnaise or Greek yogurt (2-3 tablespoons), a teaspoon of Dijon mustard, and a squeeze of fresh lemon juice. For extra flavor, incorporate finely chopped celery, red onion, and dill relish. Mix everything thoroughly until well combined.
2. Prep and warm the tortilla
Warming your tortilla is essential for pliability. Place it on a microwave-safe plate covered with slightly damp paper towels and heat for 15-20 seconds until flexible. This prevents cracking during folding. Subsequently, place the warmed 10-inch tortilla (smaller sizes won’t fold properly) on a clean work surface. For best results, use room temperature tortillas if you don’t have access to a microwave.
3. Assemble the wrap with cheese and filling
Properly assembling your wrap ensures even distribution of flavors. Start by spreading shredded or sliced cheese over half of the tortilla, leaving a 1-1½ inch border around the edges. This placement is crucial—cheese goes first, tuna second—because it helps seal the wrap during cooking. Afterward, spread about ⅓ cup of your tuna mixture evenly over the cheese layer, maintaining that border around the edges.
4. Fold and seal the wrap properly
Folding technique determines whether your wrap stays intact. Begin by folding the left and right sides of the tortilla toward the center, about 1-3 inches in. These sides should not touch completely—leave about 2 inches between them. Once the sides are folded, bring the bottom edge of the wrap up toward the center, tucking it under the filling. Finally, continue rolling from the bottom up, keeping the sides tucked in as you go. The result should be a neat, secure package.
5. Grill or pan-fry for a crispy finish
Heat a cast iron skillet or non-stick pan over medium heat. Add a small amount of oil or butter if needed. Place your wrapped tuna melt seam-side down in the pan (this seals it closed). Cook for 2-3 minutes until golden brown, gently pressing down occasionally with a spatula. Ultimately, flip carefully and cook the other side for an additional 2-3 minutes until crispy and the cheese inside has melted. If browning too quickly, reduce heat to medium-low.
Tasty Variations to Try
Once you’ve mastered the basic tuna melt wrap, the possibilities for creative variations are endless. These adaptations offer something for every taste preference and dietary need.
Spicy tuna melt wrap
For heat enthusiasts, a spicy kick transforms the standard tuna melt. Add sriracha sauce directly to your tuna mixture—it pairs wonderfully with tuna and has a thicker consistency than most hot sauces, preventing the filling from becoming watery. Beyond sriracha, incorporate crushed red pepper flakes or cayenne for additional heat. Equally important, diced jalapeños or chipotle peppers will amplify the spicy flavor profile. To complete this fiery variation, consider adding crunchy Doritos inside for unexpected texture and extra spice.
Mediterranean-style with hummus and herbs
Replace mayo completely with creamy hummus in this Mediterranean twist. Indeed, hummus not only masks any fishy taste but also adds an extra protein boost. First thing to remember, layer your wrap with fresh herbs like parsley, basil, or dill. Moreover, incorporate traditional Mediterranean ingredients such as kalamata olives, diced red peppers, and a sprinkle of feta cheese for authentic flavor. This variation works beautifully with a whole wheat tortilla for added nutritional value.
Low-carb lettuce wrap version
For a carb-conscious option, butter lettuce leaves make excellent wrap alternatives. To clarify, they provide the perfect balance of structure and flexibility. Simply prepare your tuna mixture as usual, then divide it among washed lettuce leaves, sprinkle with cheese, and roll them up like tacos. Further enhance this version with avocado slices and shredded low-fat cheddar. The nutrition profile improves significantly—one serving contains approximately 95 calories and only 1g of carbs while delivering 16g of protein.
Vegan alternative with chickpeas
Surprisingly, mashed chickpeas make an excellent tuna substitute. Pulse chickpeas in a food processor until chunky but not smooth. In this case, add nori sheets or kelp powder to create a subtle oceanic flavor. Combine with vegan mayo, dijon mustard, celery, and red onion. Some enthusiasts claim this version tastes even better than traditional tuna melts! For added authenticity, incorporate a sprinkle of dulse (dried seaweed) or a touch of horseradish.
BBQ twist with tangy sauce
Another key point: substituting tangy BBQ sauce for mayo or Greek yogurt creates a uniquely flavorful wrap. This sweet-savory combination works wonderfully with tuna. Pair with smoked cheese like gouda for complementary flavors. Consider adding sautéed onions or corn to enhance the barbecue theme.
Classic deli-style with mayo and cheddar
For purists, the classic deli approach never disappoints. Use full-fat mayonnaise and sharp cheddar cheese as your base. Subsequently, add classic mix-ins like celery, relish, and Swiss cheese for authentic deli flavor. In essence, this traditional version delivers consistent comfort food satisfaction with every bite.
Tips for the Perfect Tuna Cheese Melt Wrap
Mastering a few key techniques will take your tuna melt wrap from good to exceptional. These practical tips ensure perfect results every time you make this quick, delicious meal.
Avoid overfilling the wrap
Creating the perfect tuna melt wrap begins with proper portioning. A common mistake is adding too much filling, which inevitably leads to messy eating. Accordingly, fill ingredients to only 1/3 the size of the wrap to prevent spillage. For best results, use no more than 1/2 cup of tuna mixture per wrap. Prior to rolling, pack the filling tighter with a fork or spoon, creating more empty space for folding the tortilla properly. Remember that an overstuffed wrap will split apart regardless of your folding technique.
Use a grill pan for better texture
A grill pan elevates your tuna melt wrap with attractive grill marks and a perfectly crispy exterior. Firstly, preheat your grill pan over medium heat and lightly brush with oil. Secondly, place your wrapped tuna melt on the hot surface and—for even better results—place another heavy pan (like a cast iron skillet) on top to weigh it down. This technique ensures even browning and helps seal the wrap completely. Cook for 2-3 minutes on each side until you achieve those appealing golden grill marks.
How to prevent wrap from splitting
The secret to a non-splitting wrap lies in proper preparation. Tortillas straight from the package are often brittle and prone to cracking. To remedy this, place your tortilla on a microwave-safe plate covered with damp paper towels and heat for 15-20 seconds until flexible. Alternatively, warm tortillas in a dry pan briefly before assembly. Once rolled, place the wrap seam-side down first when cooking to naturally seal the edge.
Best way to reheat leftovers
For optimal leftover revival, several methods work well depending on your equipment. The oven method involves preheating to 350°F, wrapping in foil, and heating for 10-15 minutes. Conversely, the skillet approach requires medium heat with a thin layer of butter, covering with a lid, and cooking 3-5 minutes per side. For quickest results, microwave for 1-2 minutes.
Air fryer vs skillet: pros and cons
Both methods have distinct advantages. Air fryers provide consistent results at 380°F for 3-4 minutes with minimal monitoring. Meanwhile, skillets offer better control over browning and texture but require more attention. Forthwith, air fryers produce more golden color at 380°F or lighter results at 370°F. However, basket-model air fryers may only accommodate one wrap at a time, whereas skillets can often cook multiple wraps simultaneously.
Conclusion
Tuna melt wraps certainly stand out as one of the most versatile quick meals anyone can master. Throughout this guide, we’ve explored everything from selecting the right ingredients to perfecting your folding technique. These protein-packed wraps offer a balanced combination of nutrition, convenience, and flavor that few other meals can match.
Above all, flexibility remains the greatest strength of tuna melt wraps. Whether you prefer the classic deli-style approach or want to experiment with Mediterranean flavors, these wraps adapt to your taste preferences. Likewise, dietary restrictions pose no problem – chickpea alternatives work wonderfully for vegans, while lettuce wraps satisfy low-carb enthusiasts.
Speed and simplicity define this meal. You now have all the tools to create a delicious tuna melt wrap in just 10 minutes. The basic technique stays the same regardless of which variation you choose: mix your filling, warm your tortilla, assemble properly, fold securely, and cook until crispy.
Remember, practice makes perfect when mastering the wrap technique. Your first attempt might not look picture-perfect, but the flavors will still satisfy. Eventually, you’ll develop the knack for proper folding and filling amounts.
My personal recommendation? Start with the classic version before experimenting with more adventurous variations. This approach helps you master the fundamentals while appreciating the comforting flavors that made tuna melts a staple in the first place.
These wraps have become my go-to solution for busy weeknights and quick lunches alike. Give them a try – their simplicity, nutrition benefits, and endless customization options might just make them your new favorite meal too.
FAQs
Q1. What are the key ingredients for a perfect tuna melt wrap? The essential ingredients include canned tuna, cheese (such as cheddar or mozzarella), a large tortilla or wrap, and a binding agent like mayonnaise or Greek yogurt. Additional flavor enhancers can include mustard, lemon juice, and relish.
Q2. How do you prevent a tuna melt wrap from becoming soggy? To prevent sogginess, drain the canned tuna thoroughly before mixing it with other ingredients. Also, avoid overfilling the wrap and ensure you warm the tortilla before assembling to make it more pliable and less likely to crack or split.
Q3. Can you make a healthier version of a tuna melt wrap? Yes, you can create a healthier tuna melt wrap by using Greek yogurt instead of mayonnaise, opting for whole wheat tortillas, and adding extra vegetables. For a low-carb option, you can even use lettuce leaves instead of a tortilla.
Q4. What’s the best way to achieve a crispy exterior on a tuna melt wrap? To get a crispy exterior, cook the wrap in a preheated skillet or grill pan over medium heat. Place it seam-side down first to seal the edges, and cook for 2-3 minutes on each side until golden brown. Pressing gently with a spatula can help achieve even browning.
Q5. Are there any vegetarian alternatives to the classic tuna melt wrap? Yes, a popular vegetarian alternative uses mashed chickpeas instead of tuna. Season the chickpeas with kelp powder or crumbled nori sheets to mimic a seafood flavor, then mix with vegan mayo, mustard, and your choice of vegetables for a delicious plant-based wrap.