
The Secret to Perfect Red Velvet Cinnamon Rolls: A Baker’s Tested Recipe
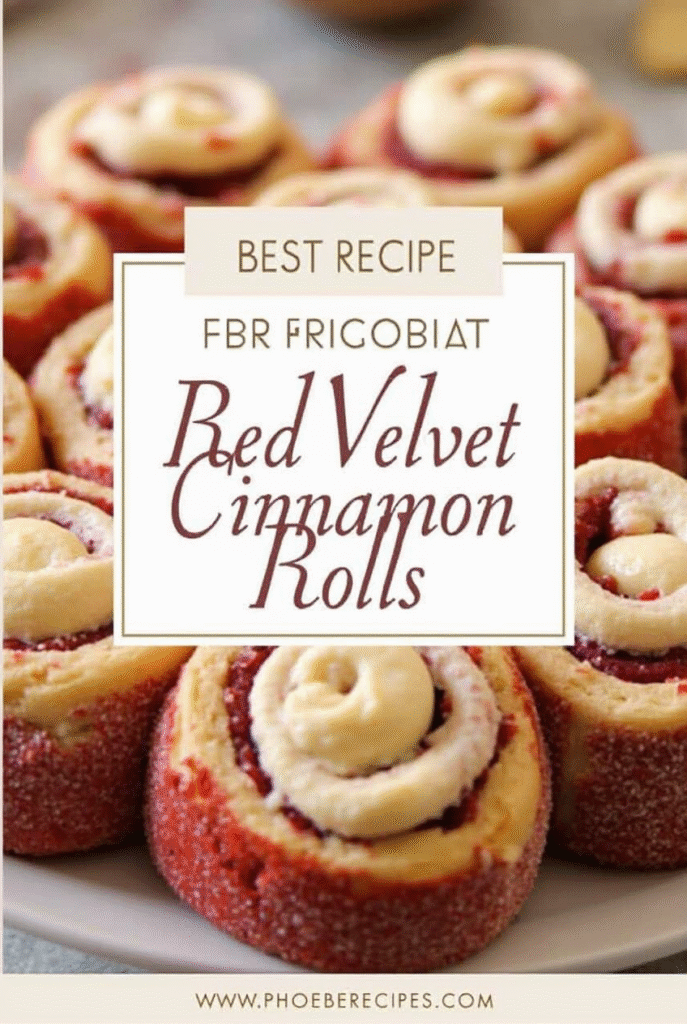
Red velvet cinnamon rolls recipe combines two beloved treats into one showstopping dessert. Actually, red velvet isn’t simply chocolate cake with red dye—it features a delicate balance of cocoa, buttermilk, and acidity that creates its distinctive flavor profile. When merged with the warm, comforting essence of cinnamon rolls, the result is truly spectacular.
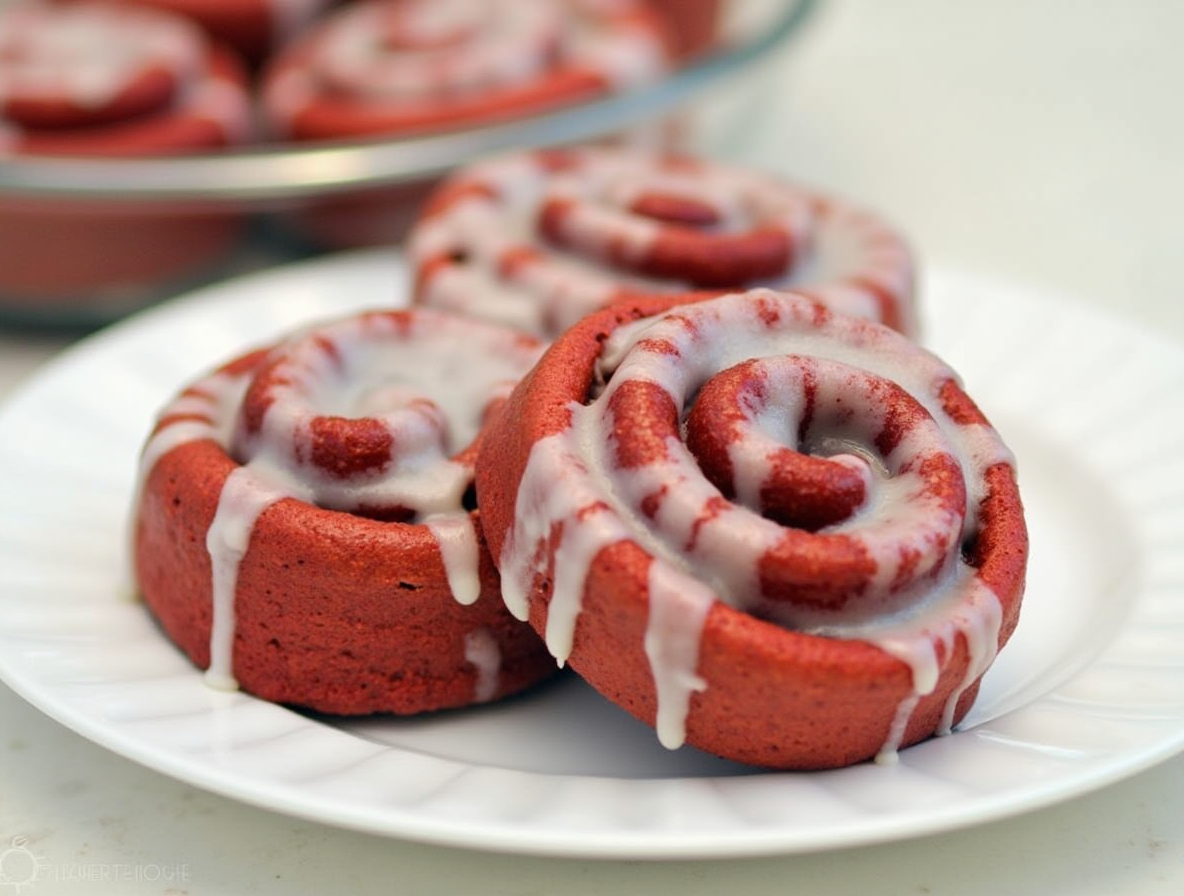
I’ve perfected this recipe for red velvet cinnamon rolls from scratch, no cake mix required, and I’m excited to share it with you. The vibrant red dough (achieved with 2 tablespoons of red food coloring) wrapped around a cinnamon-sugar filling and topped with rich cream cheese frosting (made with 8 oz cream cheese and 4 cups powdered sugar) creates an easy red velvet cinnamon rolls recipe that’s perfect for special occasions. This best red velvet cinnamon rolls recipe yields 12 servings, making it ideal for gatherings or celebrations. If you’ve wondered how to make red velvet cinnamon rolls that are light and fluffy, the secret lies in using fresh active dry yeast and warm milk to activate it properly.
Choosing the Right Ingredients for Red Velvet Cinnamon Rolls
The success of your red velvet cinnamon rolls recipe depends heavily on selecting quality ingredients. Each component plays a crucial role in creating that perfect balance of flavor, texture, and visual appeal that makes these treats so special.
Flour, yeast, and cocoa: the foundation of the dough
For red velvet cinnamon rolls from scratch, you’ll need to start with the right foundation. All-purpose flour works well for structure, though bread flour (with at least 11% protein) will give your rolls a chewier, more satisfying texture. When measuring flour, precision matters—too much can make your rolls dense.
For yeast, you have two options: active dry yeast requires blooming in warm liquid (around 110°F) until foamy, while instant yeast can be added directly with the dry ingredients. Each 0.25oz packet equals 2¼ teaspoons.
The cocoa powder (1-3 tablespoons) isn’t just for color—it provides that subtle chocolate undertone essential to authentic red velvet flavor. Both natural and Dutch-processed varieties work well, contributing depth without overwhelming the delicate flavor profile.
Why red food coloring matters
The vibrant hue isn’t just for show—it’s part of the red velvet experience. Gel food coloring delivers more intense color with less liquid, making it ideal for dough. For the signature deep ruby shade, you’ll need approximately 1-2 teaspoons.
However, be cautious with “normal” red food coloring, as it can impart bitterness. If using standard coloring, let the dough rest after adding it to help minimize any off-flavors. For those seeking natural alternatives, beet powder can provide color without artificial ingredients.
The role of buttermilk or milk in texture
The liquid component significantly impacts your dough’s texture and flavor. Warm milk (110°F—like bath water) activates the yeast effectively while contributing to a tender crumb. Buttermilk adds tanginess and moisture that’s characteristic of red velvet, resulting in silkier texture.
No buttermilk on hand? Create a substitute by adding apple cider vinegar to whole milk, or simply use 1 cup of whole milk instead. Remember that different liquids may require slight flour adjustments.
Cream cheese frosting essentials
The perfect finish requires the right frosting ingredients. Cream cheese (typically 4-8 ounces) provides that signature tang that complements the subtle cocoa in the rolls. Combine it with butter (usually equal parts) for a smooth, spreadable consistency.
Add powdered sugar (1-2½ cups), sifted to prevent lumps. A splash of vanilla extract or vanilla bean paste enhances flavor depth, while a touch of buttermilk (1-2 tablespoons) can add extra tanginess. For perfect consistency, beat until smooth and fluffy—not runny but easily spreadable.
Step-by-Step: How to Make Red Velvet Cinnamon Rolls from Scratch
Creating red velvet cinnamon rolls from scratch involves several key techniques that transform basic ingredients into bakery-worthy treats. Following these precise steps ensures your rolls will be soft, flavorful, and visually stunning.
1. Activate the yeast properly
First, warm your milk to 110-130°F (use a thermometer for accuracy). This temperature range activates the yeast without killing it. Add sugar to feed the yeast, then sprinkle yeast over the warm milk and let it sit for 5-10 minutes until foamy. This blooming process confirms your yeast is alive and active.
2. Mix and knead the dough
Begin by combining dry ingredients—flour, cocoa powder, sugar, and salt. Next, add wet ingredients including your bloomed yeast mixture, eggs, and red food coloring. For extra softness, consider making a tangzhong (a cooked flour-water paste) first. Knead until a rough dough forms, then add butter gradually, half a tablespoon at a time. Continue kneading until smooth and elastic—about 6-8 minutes.
3. Let the dough rise until doubled
Place your dough in a greased bowl, cover with plastic wrap and a towel, then allow it to rise in a warm spot until doubled in size—about 1-2 hours. Patience is crucial here; resist using an oven to rush this process as it develops flavor.
4. Prepare the cinnamon-sugar filling
Meanwhile, make your filling by combining softened butter, brown sugar, cinnamon, and sometimes cocoa powder. Mix until smooth using either a mixer or by hand.
5. Roll, slice, and arrange the rolls
On a lightly floured surface, roll the dough into a 15×21-inch rectangle. Spread your filling evenly, then roll tightly from the long edge. Cut into twelve equal pieces using a sharp knife or unflavored dental floss. Place rolls cut-side down in a greased 9×13 baking pan.
6. Bake and frost to perfection
Bake at 350°F for 28-35 minutes or until the internal temperature reaches 175-180°F. While baking, prepare cream cheese frosting by beating cream cheese and butter until smooth, then adding powdered sugar, vanilla, and a touch of heavy cream. Frost while slightly warm for perfect melt-in-your-mouth texture.
Common Mistakes and How to Avoid Them
Even experienced bakers make mistakes with red velvet cinnamon rolls. Recognizing these common pitfalls beforehand can save your batch from disappointment and ensure perfect results every time.
Using expired yeast or cold milk
The foundation of fluffy red velvet cinnamon rolls begins with active yeast. Always check expiration dates before starting your recipe. Fresh yeast stored at room temperature remains viable for one year from production, yet refrigeration extends its life up to six months. Test questionable yeast by proofing it in warm water (110-115°F) with a teaspoon of sugar—it should foam within 5-10 minutes.
Furthermore, milk temperature critically affects yeast activation. Think of warm milk as “baby bottle warm”—approximately 110°F. Using milk that’s too hot kills yeast organisms, whereas cold milk prevents proper activation. Use a thermometer for precision until you develop a feel for the right temperature.
Adding too much flour
Dense, dry cinnamon rolls typically result from excessive flour. Measure properly by spooning flour into measuring cups and leveling with a knife rather than scooping directly from containers. When nearing the end of mixing, add flour gradually—one tablespoon at a time—assessing texture after each addition.
Additionally, humidity levels affect flour absorption. The dough should feel soft and slightly sticky, not dry or stiff. Trust texture over exact measurements when determining if you’ve added enough.
Overbaking the rolls
Perfectly baked red velvet cinnamon rolls should remain soft and moist. Bake just until they begin turning golden brown on top. For absolute certainty, use an instant-read thermometer—the center roll should reach 165°F.
Frosting too early or too late
Timing matters with cream cheese frosting. Apply it when rolls are almost completely cooled yet still slightly warm. Frost too early and it melts completely; wait too long and you miss that delicious melt-into-the-cracks effect that creates gooey perfection.
Notably, cream cheese frosting remains safe at room temperature for up to 6-8 hours. Beyond that timeframe, refrigerate your frosted rolls in an airtight container to maintain freshness and food safety.
Storage, Reheating, and Make-Ahead Tips
Preserving the delicious flavor and texture of your homemade red velvet cinnamon rolls requires proper storage and reheating techniques. Fortunately, these vibrant treats offer several options for enjoying them fresh or preparing them ahead of time.
How to store rolls for freshness
Fresh-baked red velvet cinnamon rolls taste best when enjoyed immediately, yet proper storage extends their shelf life considerably. For short-term storage, place cooled rolls in an airtight container at room temperature, where they’ll remain fresh for 2-3 days. Alternatively, refrigerate them in sealed containers for extended freshness—up to one week.
During storage, timing matters for frosting. If using cream cheese frosting, it’s safe at room temperature for up to 8 hours. Beyond that timeframe, refrigeration becomes necessary. Moreover, for the freshest taste, consider storing unfrosted rolls and adding fresh frosting just before serving.
Freezing instructions for later use
Freezing transforms leftover red velvet cinnamon rolls into convenient future treats. For baked rolls, first cool them completely to room temperature. Next, wrap each roll individually in plastic wrap before placing in freezer bags or airtight containers. Properly stored, frozen red velvet cinnamon rolls maintain quality for up to 3 months.
For unbaked rolls, assemble them through cutting, place in a prepared pan, then wrap tightly with plastic wrap followed by aluminum foil. These can be frozen for up to 6 weeks. To use, thaw overnight in the refrigerator before allowing them to finish rising at room temperature.
Reheating without drying them out
Perfect reheating preserves the soft, moist texture of red velvet cinnamon rolls. For microwave reheating, heat individual rolls for 15-30 seconds in 15-second intervals. Cover with a damp paper towel to maintain moisture.
For oven reheating, preheat to 325-350°F, loosely cover rolls with foil to prevent drying, and warm for 5-10 minutes. This method particularly excels when reheating multiple rolls simultaneously.
Overnight proofing for easy mornings
Overnight preparation simplifies morning baking. First, prepare the rolls through cutting and arranging in the pan. Subsequently, cover tightly with plastic wrap and refrigerate immediately before the second rise. By morning, they’ll have risen enough to bake directly.
Alternatively, prepare the dough, allow the first rise, then refrigerate overnight. The following day, roll, fill, cut, and complete the second rise before baking. This cold proofing technique also enhances flavor development through slower fermentation.
Conclusion
Red velvet cinnamon rolls truly represent the perfect marriage of two beloved desserts. Throughout this article, I’ve shared my tested recipe that combines the distinctive cocoa-buttermilk flavor of red velvet with the warm comfort of cinnamon rolls. Undoubtedly, mastering this recipe requires attention to ingredient quality and proper technique, but the results are well worth the effort.
Remember that success begins with quality ingredients – fresh yeast, proper flour, and the right amount of cocoa powder create that signature flavor profile. Additionally, careful attention to milk temperature and dough consistency prevents common pitfalls that might otherwise lead to dense or dry rolls.
The vibrant red color makes these rolls particularly festive for special occasions, while the cream cheese frosting adds that final touch of indulgence. Therefore, don’t hesitate to prepare these treats for holidays, brunches, or anytime you want to impress your guests with something both visually stunning and delicious.
Lastly, the storage and make-ahead options make these rolls surprisingly versatile. You can prepare them the night before for fresh-baked morning treats or freeze portions for whenever a sweet craving strikes. After all, few things compare to the joy of pulling apart a warm, freshly baked red velvet cinnamon roll topped with melty cream cheese frosting.
Whether you’re an experienced baker or trying this recipe for the first time, these red velvet cinnamon rolls offer a delightful baking project that rewards your efforts with spectacular results. The combination of subtle chocolate notes, warm cinnamon, and tangy frosting creates a truly unforgettable treat your family and friends will request again and again.
FAQs
Q1. What’s the secret to making fluffy red velvet cinnamon rolls? The key to fluffy red velvet cinnamon rolls lies in proper yeast activation, careful measurement of ingredients, and adequate proofing time. Use fresh active dry yeast, warm milk (around 110°F), and add flour gradually to achieve the right dough consistency. Allow sufficient time for the dough to rise, and avoid overbaking to maintain moisture.
Q2. Can I prepare red velvet cinnamon rolls in advance? Yes, you can prepare red velvet cinnamon rolls in advance. For overnight preparation, assemble the rolls through cutting and arrange them in a pan. Cover tightly with plastic wrap and refrigerate before the second rise. In the morning, let them come to room temperature before baking. Alternatively, you can freeze unbaked rolls for up to 6 weeks.
Q3. How do I achieve the perfect red color in my red velvet cinnamon rolls? To achieve the perfect red color, use gel food coloring for more intense color with less liquid. You’ll need approximately 1-2 teaspoons for the signature deep ruby shade. If using standard food coloring, let the dough rest after adding it to minimize any off-flavors. For a natural alternative, consider using beet powder.
Q4. What’s the best way to store and reheat red velvet cinnamon rolls? Store cooled rolls in an airtight container at room temperature for 2-3 days or refrigerate for up to a week. For longer storage, freeze individually wrapped rolls for up to 3 months. To reheat, microwave individual rolls for 15-30 seconds covered with a damp paper towel, or warm multiple rolls in a 325-350°F oven for 5-10 minutes, covered loosely with foil.
Q5. How can I ensure my cream cheese frosting is perfect for red velvet cinnamon rolls? For perfect cream cheese frosting, use equal parts cream cheese and butter, typically 4-8 ounces each. Add 1-2½ cups of sifted powdered sugar, a splash of vanilla extract, and 1-2 tablespoons of buttermilk for extra tanginess. Beat until smooth and fluffy, aiming for a consistency that’s easily spreadable but not runny. Apply the frosting when the rolls are almost completely cooled but still slightly warm for the best melt-into-the-cracks effect.