
The Secret to Perfect Reeses Pieces Brownies (Tested 50+ Times)

Reeses pieces brownies combine two of the world’s most perfect flavors in one irresistible treat. Who doesn’t love the delicious combination of chocolate and peanut butter? These chewy, super moist peanut butter brownies will knock your socks off with their perfect balance of sweet chocolate and salty peanut butter—truly a match made in heaven!
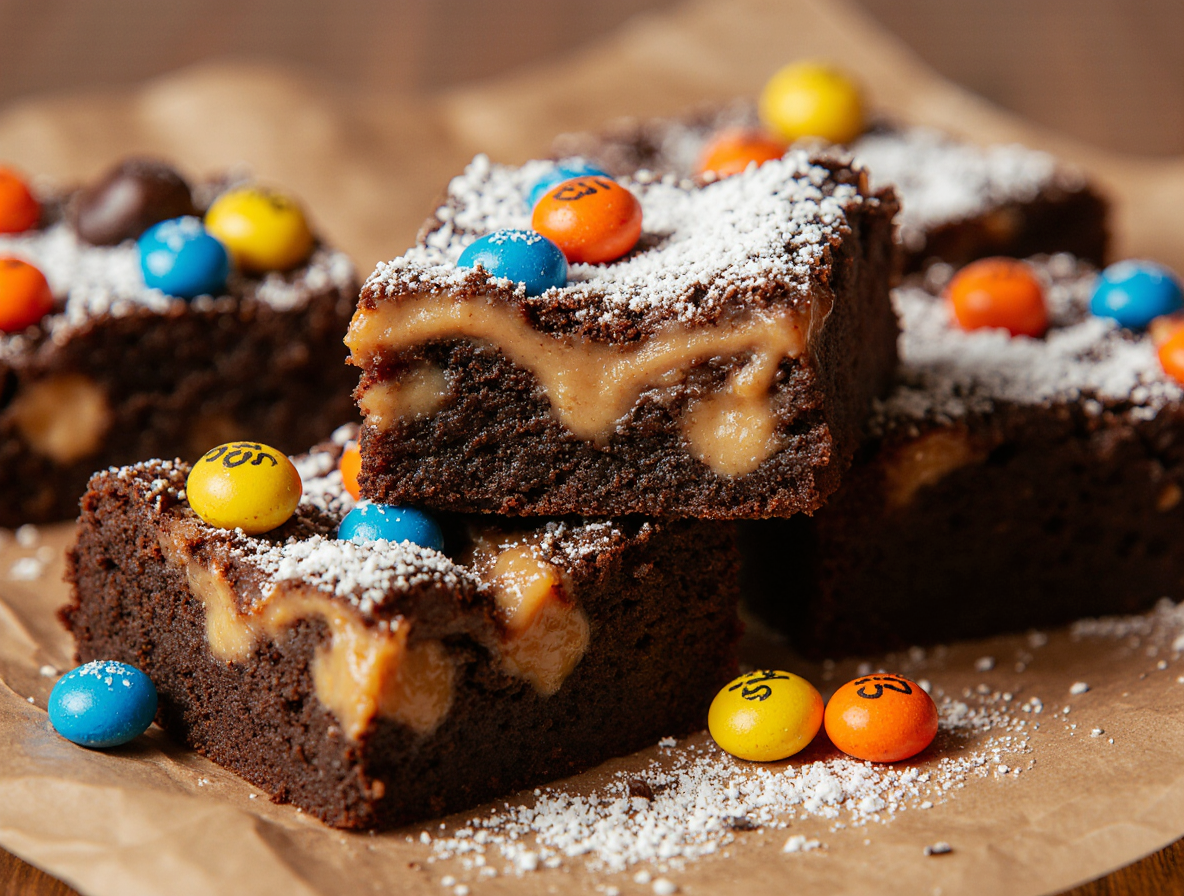
After testing this recipe more than 50 times, I’ve discovered exactly what makes Reese’s pieces peanut butter brownies so addictive. Each bite delivers rich peanut butter flavor studded with colorful Reese’s pieces and optional chocolate chips. Whether you prefer them with thick, rich peanut butter frosting on top or simply enjoyed in their natural state, these brownies are perfect for peanut butter and brownie lovers alike. Furthermore, they’re surprisingly simple to make, requiring just 10 minutes of prep time before baking for 30 minutes.
In this guide, I’ll share everything I’ve learned about creating the perfect Reese’s pieces brownies—from selecting the right ingredients to mastering the baking process. Additionally, I’ll reveal my tested variations and storage tips to keep your brownies fresh for up to a week.
The core ingredients that make or break Reese’s Pieces brownies
After testing dozens of batches, I’ve discovered that the secret to truly exceptional reeses pieces brownies lies in understanding the key ingredients. The quality and type of each component dramatically impacts the final texture and flavor profile of these peanut butter-chocolate treats.
Butter: salted vs unsalted
Most professional bakers prefer unsalted butter for reese’s pieces brownies because it allows precise control over the salt content. While both types work, unsalted butter creates a more consistent result since salt levels vary between brands of salted butter. However, if you only have salted butter on hand, simply reduce the recipe’s salt by approximately ¼ teaspoon or omit it entirely.
The role of butter goes beyond flavor—it’s crucial for achieving that perfect fudgy texture. Melting the butter rather than creaming it results in denser, moister brownies with less air incorporated. In some variations, oil replaces butter for even richer, moister results.
Choosing the right peanut butter
When making reese pieces brownies, the type of peanut butter significantly affects both texture and flavor. Conventional creamy peanut butter works best as it has the ideal consistency and sweetness level. I strongly advise against using natural or stir varieties in your brownie batter—their oils separate too easily, potentially ruining your brownies’ structure.
For those who enjoy textural contrast, try using half creamy and half chunky peanut butter. Whatever variety you choose, ensure it’s well incorporated when mixing with butter or other ingredients to create that signature peanut butter flavor throughout.
Why brown sugar matters
The inclusion of brown sugar is not merely coincidental in reese’s pieces peanut butter brownies. Unlike white sugar, brown sugar contains molasses, which adds moisture and creates that desirable chewy texture we all love. Most exceptional recipes combine both granulated white sugar and light brown sugar—the former for sweetness and structure, the latter for depth of flavor and moisture retention.
Moreover, brown sugar complements the nutty notes of peanut butter beautifully, creating a complex flavor profile that balances the chocolate elements. For the richest result, pack your brown sugar when measuring.
Reese’s Pieces vs peanut butter cups
Both Reese’s Pieces and peanut butter cups deliver distinct qualities to your brownies. Reese’s Pieces maintain their shape and provide colorful candy-coated crunch throughout the brownie, while peanut butter cups melt slightly, creating pockets of concentrated peanut butter goodness.
Many bakers opt for a combination approach—incorporating chopped peanut butter cups into the batter and sprinkling Reese’s Pieces on top for visual appeal. For ultimate peanut butter intensity, consider also adding peanut butter chips to the mix. The beauty of reese’s pieces brownies is their versatility—you can adjust the ratio of candies to match your preference for more chocolate or more peanut butter flavor.
Step-by-step method for perfect texture and flavor
The technique you use to mix and bake reeses pieces brownies is just as crucial as the ingredients themselves. Through my extensive testing, I’ve learned that following specific steps in the right order makes the difference between mediocre and magnificent brownies.
Mixing order and why it matters
First, melt your butter completely—this creates denser, fudgier brownies than using softened butter. For that coveted crackly top, thoroughly whisk the butter, sugar, and eggs until the mixture becomes pale and frothy. This crucial step creates that glossy, shiny finish we all love.
Next, add your vanilla extract, then gradually incorporate the dry ingredients. Many recipes recommend whisking dry ingredients separately first to distribute cocoa powder, salt, and baking powder evenly. Once combined, fold in your Reese’s pieces or chopped peanut butter cups, reserving some for the top.
How to avoid overmixing
Overmixing is the silent killer of perfect brownies. Once you’ve added flour to the batter, mix only until no dry streaks remain. Overmixing develops gluten, resulting in tough, bready brownies instead of fudgy, gooey ones. Use a spatula for folding in dry ingredients rather than an electric mixer for better control.
Baking time and doneness cues
Bake your reese’s pieces brownies at 350°F for 30-35 minutes. The exact time varies depending on your oven and pan size—an 8×8 pan typically needs 35-39 minutes, while a 9×9 requires 32-35 minutes.
The perfect doneness test: insert a toothpick 2 inches from the edge—it should come out with a few moist crumbs, not wet batter. Remember that brownies continue cooking as they cool, so it’s better to slightly underbake than overbake them.
Cooling and cutting tips
Allow your reese’s pieces peanut butter brownies to cool in the pan for at least 10 minutes before attempting to cut them. For the cleanest cuts, either use a plastic knife with short sawing motions or chill the brownies completely before cutting with a sharp chef’s knife.
Between cuts, wipe your knife with a hot, damp cloth for pristine edges. Properly cooling brownies allows them to set fully, making them easier to handle without falling apart.
Tested variations that actually work
Throughout my many experiments with reeses pieces brownies, I’ve discovered several variations that consistently produce excellent results. These tested adaptations allow you to customize your brownies according to personal preferences or dietary needs without sacrificing quality.
Adding chocolate chips or ganache
One simple yet effective variation involves swapping out peanut butter chips for chocolate chips to create an even more chocolatey experience. Alternatively, you can incorporate both for a double dose of flavor. For a truly decadent upgrade, consider adding a rich ganache topping. To create a peanut butter ganache, simply microwave peanut butter chips and heavy cream for 30 seconds, stir, heat for another 30 seconds, then whisk until smooth. For chocolate lovers, a chocolate ganache works beautifully as well, although using high-quality chocolate rather than chips is crucial for achieving that perfectly silky texture.
Using different pan sizes
Your choice of pan significantly affects baking time and brownie thickness. For an 8×8 pan, bake for approximately 36-39 minutes; a 9×9 pan requires 32-35 minutes; and an 11×7 pan needs about 30-34 minutes. Always check for doneness with a toothpick inserted about 2 inches from the edge—it should come out almost clean for perfect texture.
Making them gluten-free
Fortunately, reese’s pieces brownies adapt beautifully to gluten-free diets. Use a high-quality gluten-free flour blend that contains xanthan gum, such as King Arthur Measure-for-Measure Flour or Bob’s Red Mill 1-1. Remember that standard Reese’s peanut butter cups are gluten-free, except for seasonal shapes, making them safe to include in your gluten-free creation.
Frosted vs unfrosted versions
The age-old debate between frosted and unfrosted brownies divides even professional bakers. Generally, fudgier, denser brownies need no frosting, whereas cakier versions benefit from a frosting layer. For those who prefer frosting, peanut butter frosting intensifies the flavor profile, especially when paired with Reese’s pieces on top. Alternatively, a simple drizzle of melted bittersweet chocolate offers a middle-ground solution that adds elegance without overwhelming sweetness.
How to store, freeze, and reheat for best results
Proper storage is the final crucial step in mastering reeses pieces brownies, ensuring they maintain their perfect texture and flavor for days or even months after baking. Through countless tests, I’ve determined the best methods for storing, freezing, and reheating these peanut butter-chocolate delights.
Room temperature storage tips
Properly cooled reese’s pieces brownies stay fresh in airtight containers at room temperature for up to 3-5 days. For maximum freshness, I wait until my brownies are completely cool before storing—this prevents unwanted moisture that can alter their texture. Leaving brownies uncut in the tin maintains moisture longer than pre-cutting them.
For individual brownies already cut, wrap each piece tightly in plastic wrap to minimize air exposure. Indeed, a clever trick I’ve discovered: place a slice of bread in the container with your brownies—the bread’s moisture helps keep your reese’s pieces peanut butter brownies soft and fresh for several additional days.
Freezing instructions
Reese’s pieces brownies freeze beautifully for up to 2-3 months. For best results, completely cool your brownies first, then wrap them individually in plastic wrap followed by aluminum foil before placing in an airtight container. This triple-layer protection prevents freezer burn effectively.
You can freeze whole uncut brownies or individual pieces depending on your preference. Notably, some bakers report that frozen brownies with reese’s pieces taste just as delicious as fresh ones when properly thawed.
Reheating without drying out
To thaw frozen brownies, simply leave them at room temperature for 1-2 hours or overnight in the refrigerator [193]. Never refreeze previously frozen brownies as this damages their texture.
For that wonderful fresh-baked quality, microwave individual brownies for 10-15 seconds. This short burst of heat reactivates the chocolate and peanut butter flavors without drying out your treats. Primarily, I’ve found that chilled brownies (from the refrigerator rather than freezer) respond best to reheating, delivering that perfect balance of warmth and fudginess that makes reese’s pieces desserts so irresistible.
Conclusion
After testing this recipe more than 50 times, Reese’s pieces brownies certainly stand as one of the most versatile and crowd-pleasing desserts you can master. The perfect balance of chocolate and peanut butter creates an irresistible treat that satisfies multiple cravings at once.
My experiments proved that success depends on several key factors: choosing the right peanut butter (conventional creamy works best), mixing methods (don’t overmix after adding flour), and proper baking times based on your specific pan size. Additionally, proper storage techniques preserve that fresh-baked quality for days or even months.
Whether you prefer them fudgy or cakey, frosted or plain, these brownies adapt to countless variations while maintaining their essential peanut butter-chocolate appeal. The beauty of Reese’s pieces brownies lies in their forgiving nature—even beginner bakers can achieve impressive results by following the core techniques outlined above.
Remember that slightly underbaking yields better results than overbaking, as brownies continue cooking while cooling. Allow your creation to cool completely before cutting for the cleanest results. Then again, warm brownies with melting Reese’s pieces offer their own special charm!
These brownies have become my go-to dessert for everything from casual family gatherings to impressive dinner party finales. Therefore, I encourage you to try this recipe and discover why the chocolate-peanut butter combination remains a timeless classic. Your friends and family will undoubtedly thank you—that is, if you decide to share them at all!
FAQs
Q1. What’s the key to achieving fudgy Reese’s Pieces brownies? The secret lies in using the right ratio of ingredients, particularly a higher amount of cocoa powder to flour. Additionally, slightly underbaking the brownies and allowing them to cool completely before cutting helps achieve that perfect fudgy texture.
Q2. Can I use different types of Reese’s candies in my brownies? Absolutely! You can use Reese’s Pieces, chopped peanut butter cups, or even a combination of both. Each type adds a unique texture and flavor to the brownies. Some bakers also like to add peanut butter chips for an extra peanut butter punch.
Q3. How do I get that perfect shiny, crackly top on my brownies? To achieve a shiny, crackly top, thoroughly whisk the melted butter, sugar, and eggs until the mixture becomes pale and frothy. This crucial step creates that glossy finish we all love. Adding chocolate chips to the batter can also help create a crackly top.
Q4. What’s the best way to store Reese’s Pieces brownies? For short-term storage, keep the brownies in an airtight container at room temperature for up to 3-5 days. For longer storage, you can freeze them for up to 2-3 months. Wrap individual pieces in plastic wrap and foil before placing them in an airtight container to prevent freezer burn.
Q5. Can I make these brownies gluten-free? Yes, you can make gluten-free Reese’s Pieces brownies. Use a high-quality gluten-free flour blend that contains xanthan gum, such as King Arthur Measure-for-Measure Flour or Bob’s Red Mill 1-1. Remember that standard Reese’s peanut butter cups are gluten-free, except for seasonal shapes, making them safe to include in your gluten-free creation.